Functions:
| Name | Description |
|---|---|
before_after | 두 image를 비교하는 image 생성 |
grid | 여러 image를 입력받아 정방형 image로 병합 |
vert | 여러 image를 입력받아 가로 image로 병합 |
before_after(before: NDArray[uint8], after: NDArray[uint8], area: list[int | float] | None = None, per: bool = True, quality: int = 100, file_name: str = 'tmp') -> None
두 image를 비교하는 image 생성
Parameters:
| Name | Type | Description | Default |
|---|---|---|---|
before | NDArray[uint8] | 원본 image | required |
after | NDArray[uint8] | 영상 처리 혹은 모델 추론 후 image | required |
area | list[int | float] | None | 비교할 좌표 ( | None |
per | bool |
| True |
quality | int | 출력 image의 quality (단위: %) | 100 |
file_name | str | 저장될 file의 이름 | 'tmp' |
Returns:
| Type | Description |
|---|---|
None | 현재 directory에 바로 image 저장 |
Examples:
BGR, GRAY:
>>> after = cv2.GaussianBlur(before, (0, 0), 25)
>>> after = cv2.cvtColor(after, cv2.COLOR_BGR2GRAY)
>>> zz.vision.before_after(before, after, quality=10)
 BGR, Resize:
 >>> after = cv2.resize(before, (100, 100))
>>> zz.vision.before_after(before, after, [20, 40, 30, 60])

Source code in zerohertzLib/vision/compare.py
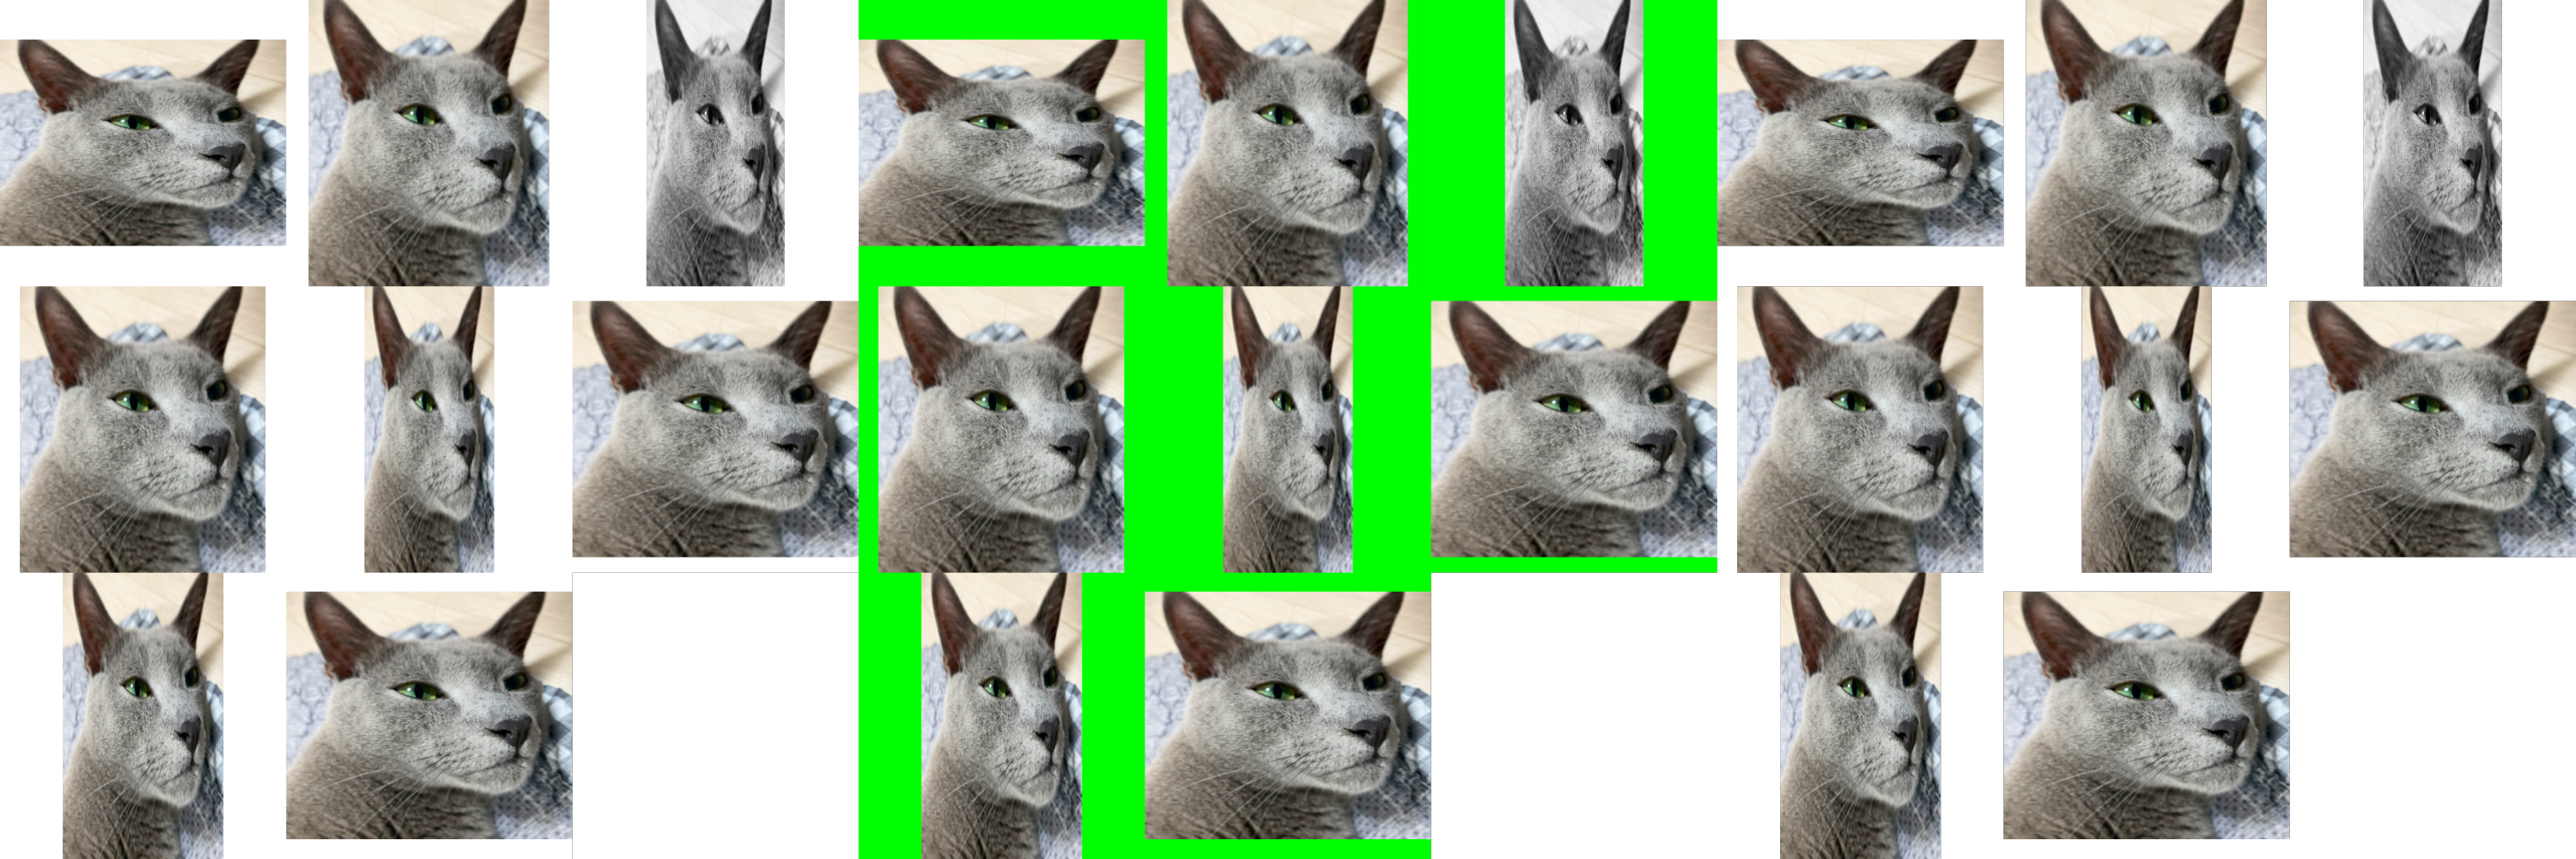
grid(imgs: list[NDArray[uint8]], size: int = 1000, color: tuple[int, int, int] = (255, 255, 255), file_name: str = 'tmp') -> None
여러 image를 입력받아 정방형 image로 병합
Parameters:
| Name | Type | Description | Default |
|---|---|---|---|
imgs | list[NDArray[uint8]] | 입력 image | required |
size | int | 출력 image의 크기 | 1000 |
color | tuple[int, int, int] | Padding의 색 | (255, 255, 255) |
file_name | str | 저장될 file의 이름 | 'tmp' |
Returns:
| Type | Description |
|---|---|
None | 현재 directory에 바로 image 저장 |
Examples:
>>> imgs = [cv2.resize(img, (random.randrange(300, 1000), random.randrange(300, 1000))) for _ in range(8)]
>>> imgs[2] = cv2.cvtColor(imgs[2], cv2.COLOR_BGR2GRAY)
>>> imgs[3] = cv2.cvtColor(imgs[3], cv2.COLOR_BGR2BGRA)
>>> zz.vision.grid(imgs)
>>> zz.vision.grid(imgs, color=(0, 255, 0))
>>> zz.vision.grid(imgs, color=(0, 0, 0, 0))
Source code in zerohertzLib/vision/compare.py
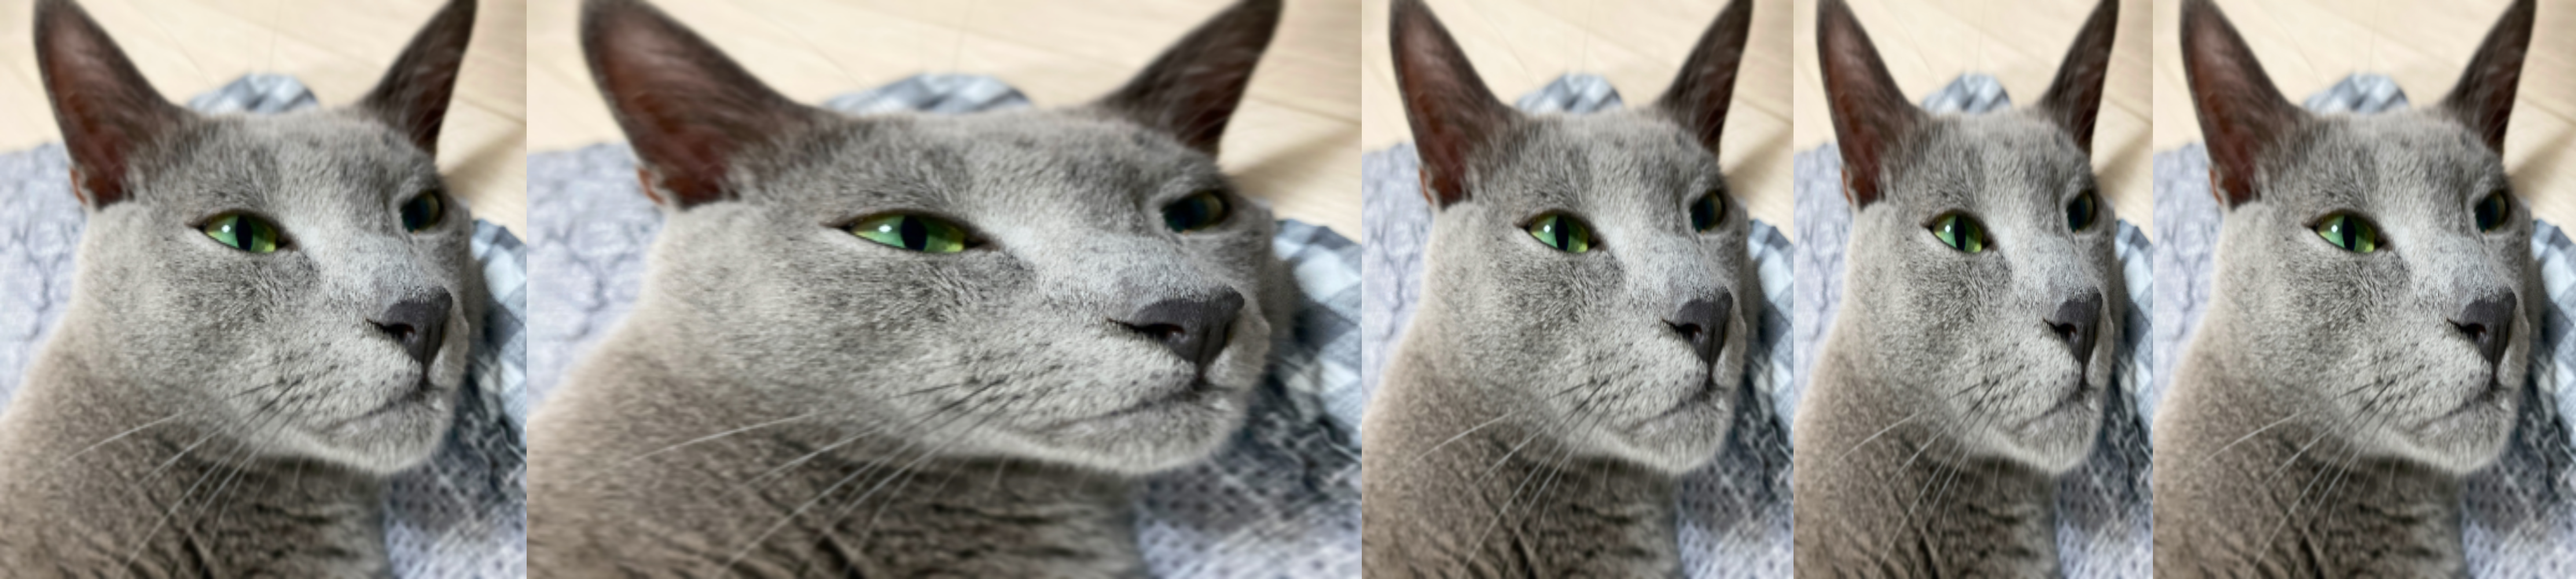
여러 image를 입력받아 가로 image로 병합
Parameters:
| Name | Type | Description | Default |
|---|---|---|---|
imgs | list[NDArray[uint8]] | 입력 image | required |
height | int | 출력 image의 높이 | 1000 |
file_name | str | 저장될 file의 이름 | 'tmp' |
Returns:
| Type | Description |
|---|---|
None | 현재 directory에 바로 image 저장 |
Examples:
>>> imgs = [cv2.resize(img, (random.randrange(300, 600), random.randrange(300, 600))) for _ in range(5)]
>>> zz.vision.vert(imgs)